The kitchen is called the heart of the home for a reason. It's a space to gather with friends and family to share meals, entertain, and make new memories. It's all so beautiful, until reality hits, and you're trying to cram that whisk back into its drawer, spending 20 minutes staring into your pantry to find the ingredient you need, and dodging the waterfall of plastic storage containers every time you open the cabinet.
But there’s a better way. You can simplify your life and make your kitchen work for you with our kitchen organization tips. The best part? You can treat yourself afterwards once everything is easier to find! May we suggest an adult beverage, made-from-scratch dinner, or yummy dessert?
DECLUTTER THOSE DRAWERS
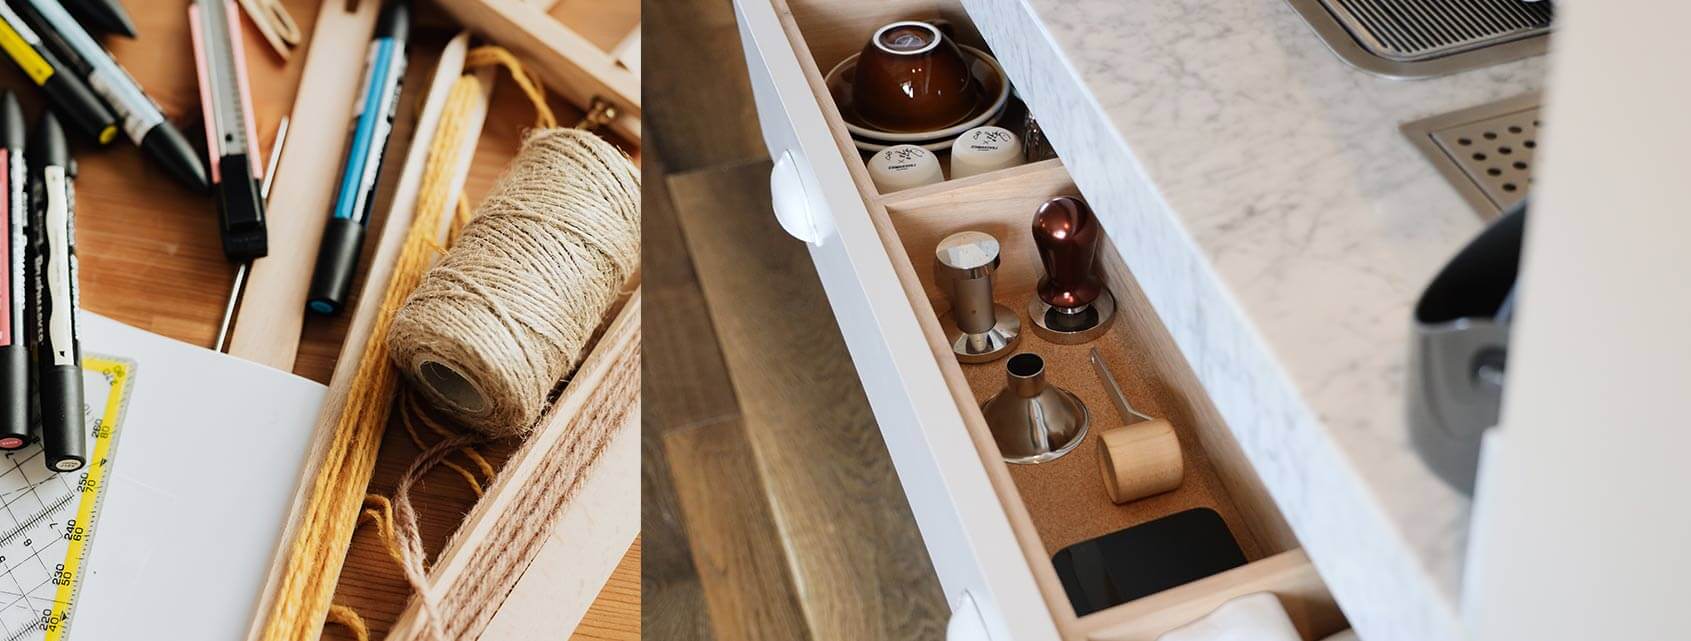
Before starting any reorganizing project, the first thing you need to do is declutter. Take everything out of your drawers and cabinets and ask yourself these questions (and be honest!): Do I need it? Have I used it in the last year? If I were moving, would I take the time and effort to pack this up and bring it with me? If the answer is no, either throw it away or donate it. Be sure to get rid of duplicates and items that are broken. Now that your cabinets and drawers are empty, it’s also a great time to roll up your sleeves and give them a deep clean. Get some drawer organizers to keep everything neat and tidy in its proper home.
GET IN THE ZONE
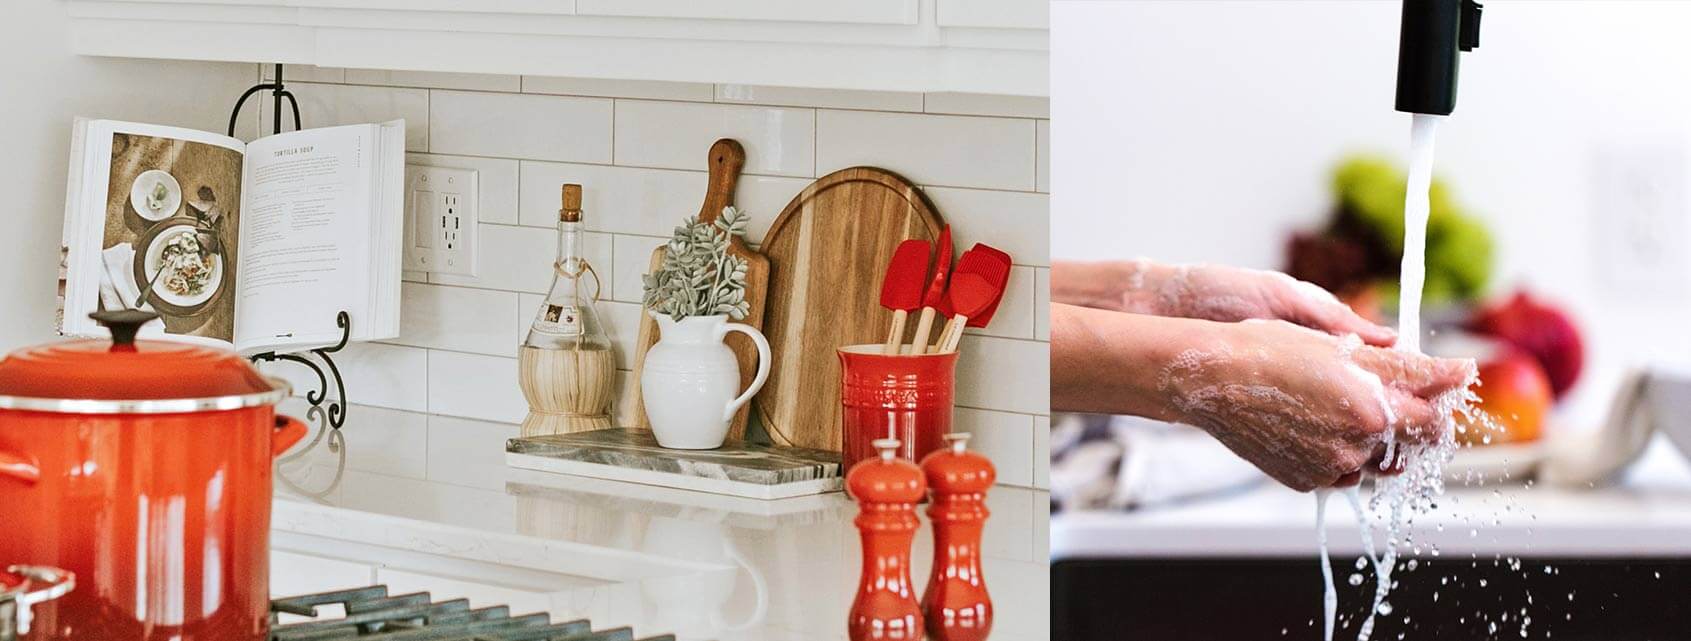
Once you’ve decluttered, it's time to put things away. Think of your kitchen as having distinct zones—food prep, cooking/baking, and washing—then store your items in the drawers and cabinets closest to the area they'll be used.
The food prep area includes the area under the largest section of your countertop. Put things like cutting boards, mixing bowls, measuring cups, and other baking tools here. The cooking/baking zone is the area closest to your oven. This zone is where you should keep things like pots and pans, baking trays, cooking utensils and essentials like PAM® cooking and baking spray. The washing zone surrounds your sink and dishwasher. Store your dishes, drinkware, and cutlery closest to this area. Grouping your items this way will drastically improve the workflow in your kitchen, and you can even add shelf risers or tiered wire racks to instantly maximize your storage space.
ORGANIZE YOUR FRIDGE LIKE A PRO
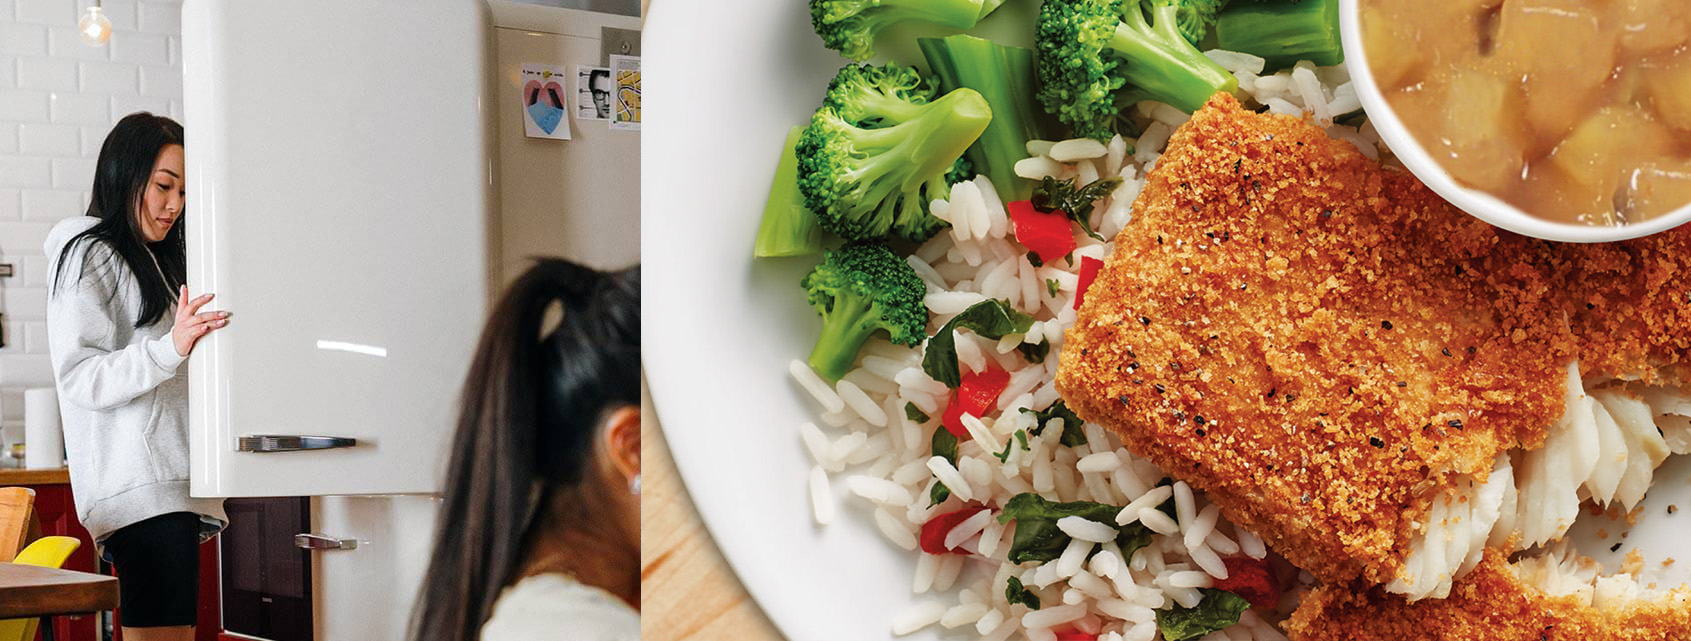
Just like your drawers and cabinets, the first step to organizing your fridge is decluttering. Do a deep dive and get rid of anything past its prime. If it's got an expiration date before the last presidential election (we’re looking at you, condiments), it’s got to go. No judgment—we all have them! And if you feel like your fridge is looking a little sparse, that’s a good thing! In fact, it’s best to try to keep your fridge two-thirds full for better airflow and more efficient cooling.
Did you know there's a right and wrong way to store your food in your refrigerator? The warmest parts of your fridge are the door and the top shelf. Door shelves are perfect for salad dressings and condiments, like Hunt's® classic tomato ketchup. The top shelf is best for leftovers (you won't forget about them here!), snacks, and drinks, while the middle, where it's the most consistently cool, is where milk and eggs should go. Egg Beaters® cartons can also be stored here. Always keep raw meat on the lowest shelf so it doesn't drip or contaminate anything else in your fridge. To keep your fruits and veggies fresh and extend their shelf lives, remember this rule: Things that tend to rot (think apples, pears, peaches, etc.) go in a drawer with a low-humidity setting, and things that wilt, like leafy greens and herbs, go in a drawer with a high-humidity setting.
To maximize your freezer space and make it easier to see what you have, try to store things like Birds Eye® Steamfresh® vegetables, Marie Callender's® multi-serve meals, Healthy Choice® Classics, and Udi's® gluten-free pizzas as flat as possible. For other food and leftovers, avoid freezer burn by using a container that's close to the size of the item you're freezing. Also, make sure to use thick plastic freezer bags with the air pressed out, and tightly double wrap if you're using aluminum foil. Label and date everything so you don't have to play guessing games about what's inside.
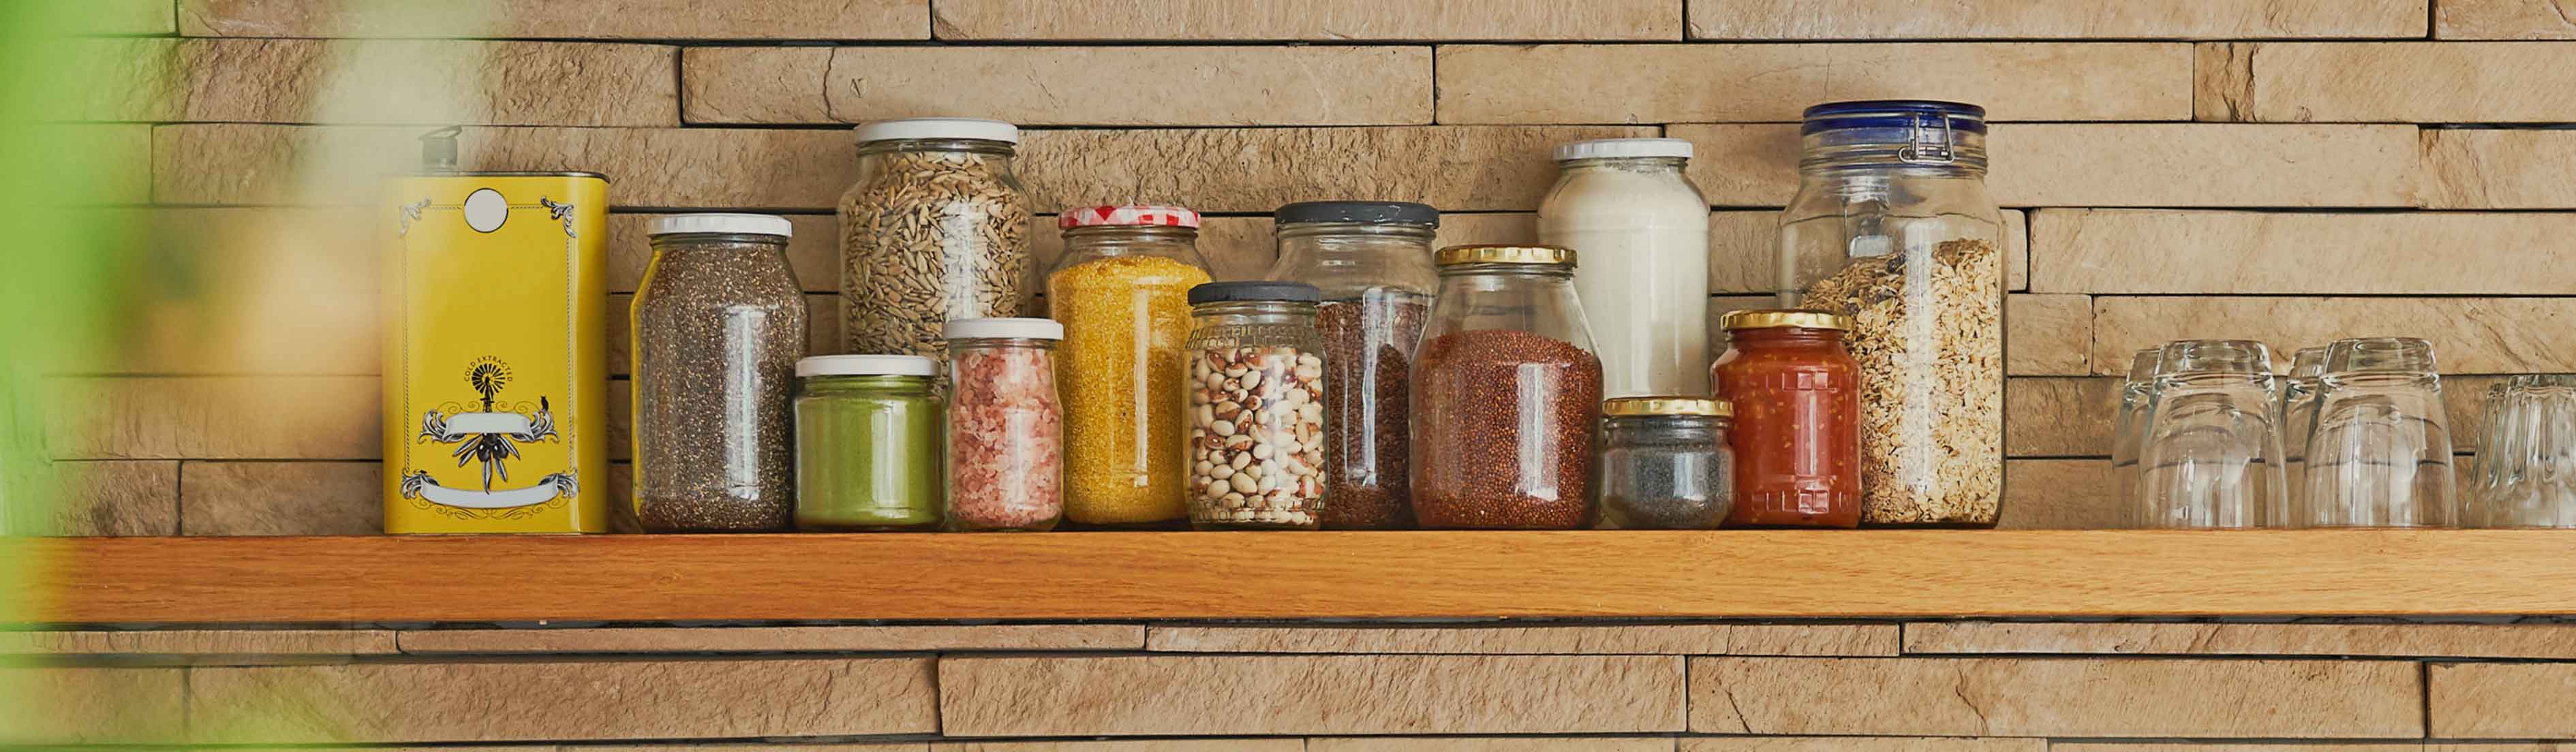
#PANTRYGOALS
Spend any time at all on Pinterest, and you'll come across photos of the most perfectly organized, swoon-worthy pantries. If you've got serious pantry envy, here are some simple kitchen organization hacks to help get you there.
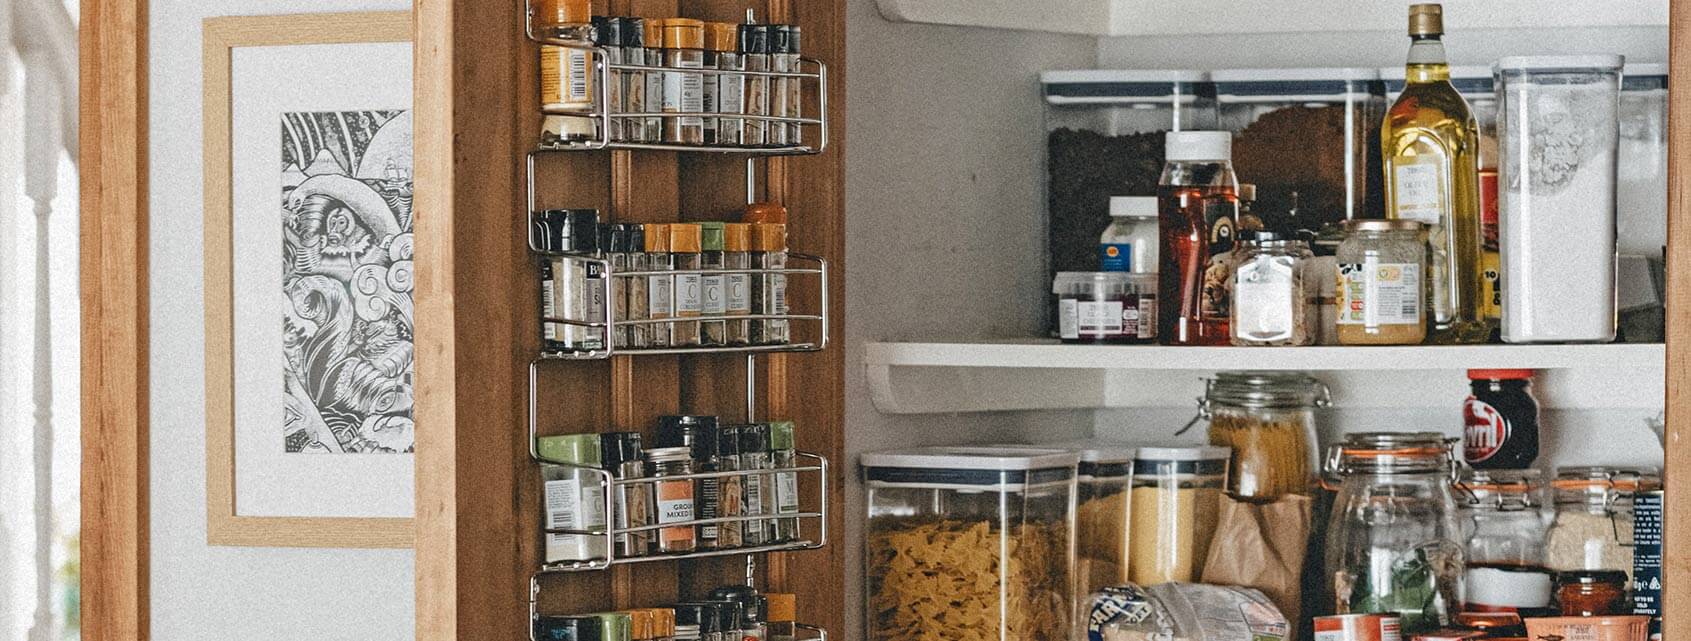
The first step is, you guessed it, declutter! Empty everything and get rid of anything that's gone stale or is way past its expiration date. This goes for spices, too. Dried herbs and spices lose their aroma and potency after about two or three years, so toss any that are past their shelf life, and then alphabetize them.
Try decanting your dry goods by putting them into clear plastic containers or a repurposed glass jar (a clean Vlasic® pickles jar works great!). Not only does this look amazing, but it makes it easier to find what you need (plus, it keeps out the creepy crawlies). Group similar things together and keep the items that you use most in an easily accessible spot. If you have kids, keep snacks, like Angie's® BOOMCHICKAPOP® popcorn and chocolate Snack Pack® pudding at their level. Be sure to store items that you have multiples of (such as cartons of broth, cans of Hunt’s diced tomatoes, drinks), with the oldest in front, so that they get used first.
CURB THAT CLUTTER
Once you've brought order and organization to your kitchen, you’ll want to keep clutter from taking over again. Try to maintain these habits for a neat and tidy kitchen.
- Avoid tossing mail, keys, magazines, and life's other odds and ends on your counter. Instead, hang your keys on removable hooks by the door and keep your mail, magazines, coupons, and other papers in a cute tray.
- Only keep things on your counter that you use frequently. Don't use your toaster or stand mixer daily? Store them away! Keep your go-to spatulas, wooden spoons and other utensils in a pretty vase or utensil holder on the counter for easy access.
- Keep a healthy balance by living by the one in, one out rule. Buy a cute new coffee mug? Donate one of your old ones.
- If it doesn't belong in the kitchen, move it.
- Do one chore in the kitchen a day to stay on top of cleanliness and order.
- Clean up after each meal. Dirty dishes go straight to the dishwasher. Pots, pans, and other cooking utensils get washed immediately.
- Set boundaries with a designated “kitchen closed” time at night. This will not only keep your kitchen from being perpetually messy, but also help teach kiddos healthy eating habits.

Now, about that treat! With all that hard work you've done, it's time to kick back and reward yourself with an Espresso Martini or Stout Beer Float, topped with Reddi-wip® Barista Series sweet foam coffee topper or nitro coffee creamer. Cheers to you and your sparkling, organized, beautiful kitchen!
![]()