Looking for a new hobby? It’s time to start a beginner herb garden. And here’s why!
Growing fresh herbs at home means you’re just one snip away from enhancing tonight’s dinner, no store run required. If you grow them inside, the fresh greenery and fragrance will be a natural mood booster and stress reliever—and who couldn’t use that? If you take your efforts outside and plant your herbs in garden beds or window boxes, they’ll be a welcome breath of fresh air. So, let’s dig in! (See what we did there?)
What you'll need
- Herb plants or seeds of your choosing
- Pots/containers and protective liners
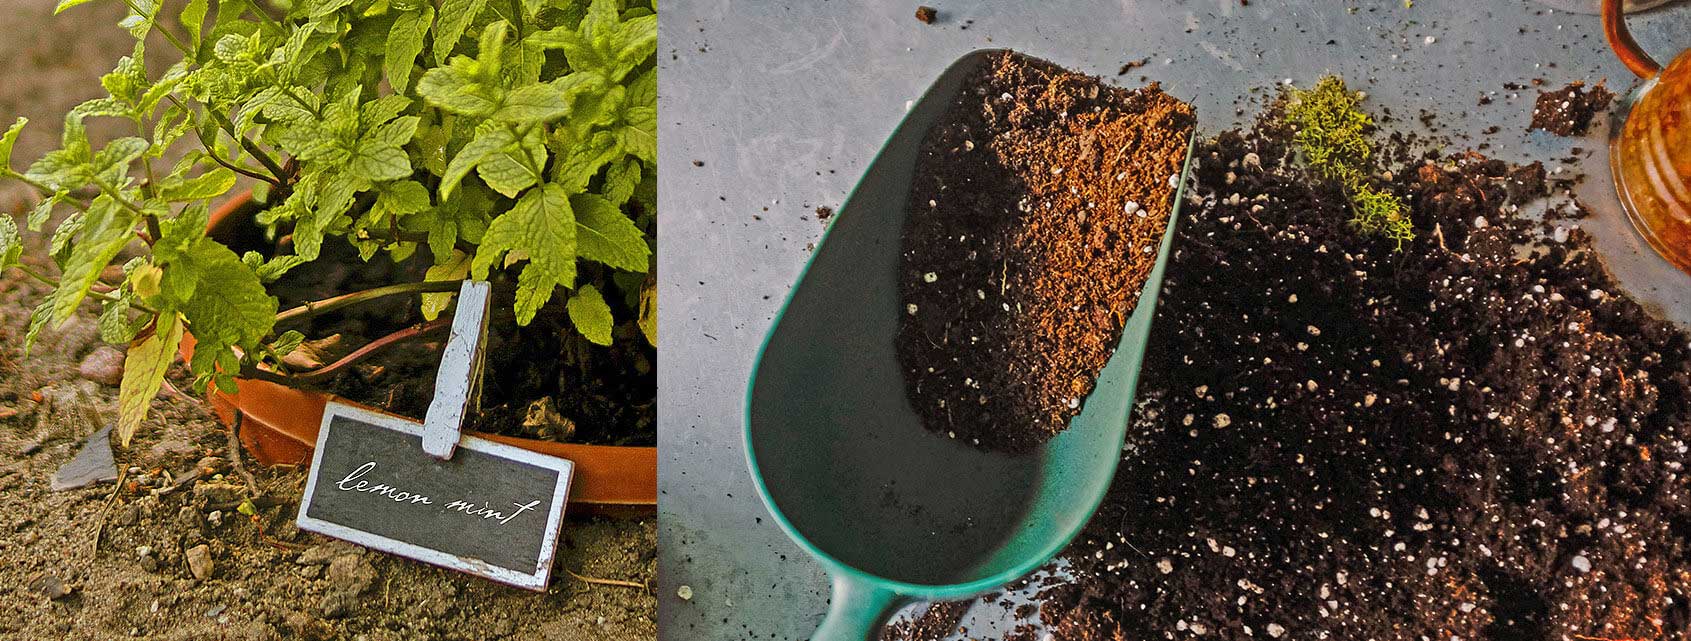
- Potting soil
- Trowel
- Herb markers, if you’re feeling fancy
- A grow light, if your natural light is lacking or there are limited hours of sunlight
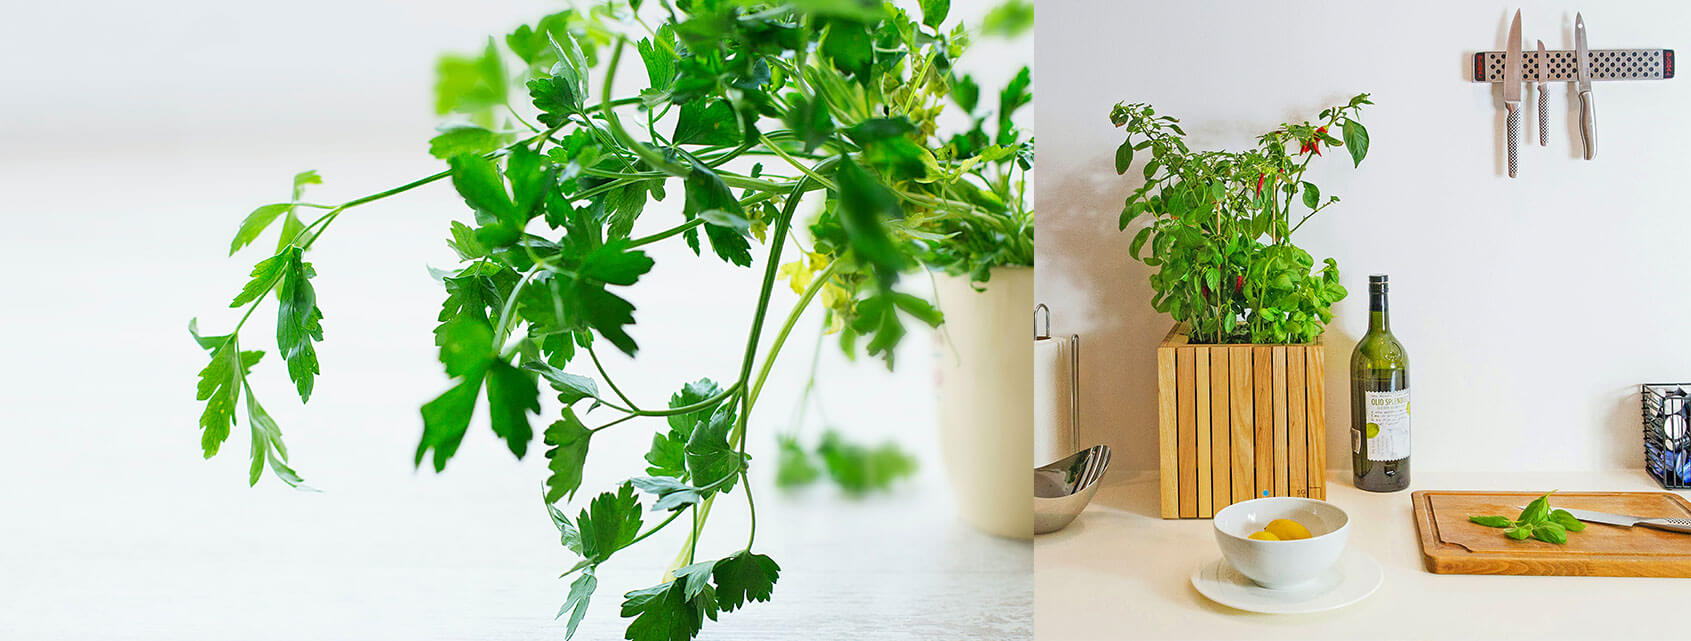
Step 1: Pick a perch
If you’re planting outside, look for a sunny area with well-draining soil, such as a raised bed. For indoor herb gardens, take a look around and find your sunniest window. Most herbs will do great in an unblocked south-facing window. Some herbs that require less sun, like mint, parsley, and thyme, will do best in west-facing windows. Temperature-wise, they like the same climate humans do, including the drop in temperature that comes with being by a window at night. Just make sure they’re not touching the glass—you don’t want them to get nipped by the cold!
Step 2: Choose your herbs and get your setup started
What herbs should you grow? Whatever you want! Just be realistic about what you cook with most often. Seriously, if you don’t think you’ll ever use marjoram, there’s no sense growing marjoram! You can browse our recipes below for inspiration or simply think about your favorite aromas and flavors. Starter plants are a good way to go, but you could also start from seed. Just know they may take two to four weeks.
PRO TIP
Don’t just use any old soil from your backyard–purchase a bag of potting soil, which has much better draining qualities.

Step 3: Water the right way
Follow your inner plant intuition and keep the soil moist, but not waterlogged. A small watering can or a drizzle under the sink should do the trick! Keep an eye on your herbs and look for signs of over- or under-watering, such as dried or discolored leaves.
PRO TIP
Keep in mind the “golden rules” for watering your plant babies:
- Plants in large pots dry out faster than plants in small pots
- Drainage, drainage, drainage: Be sure to choose pots or container with drainage holes to prevent overwatering. Trust us on this!
- When watering, be sure to moisten the entire root zone—just until water starts to come out of your drainage holes.
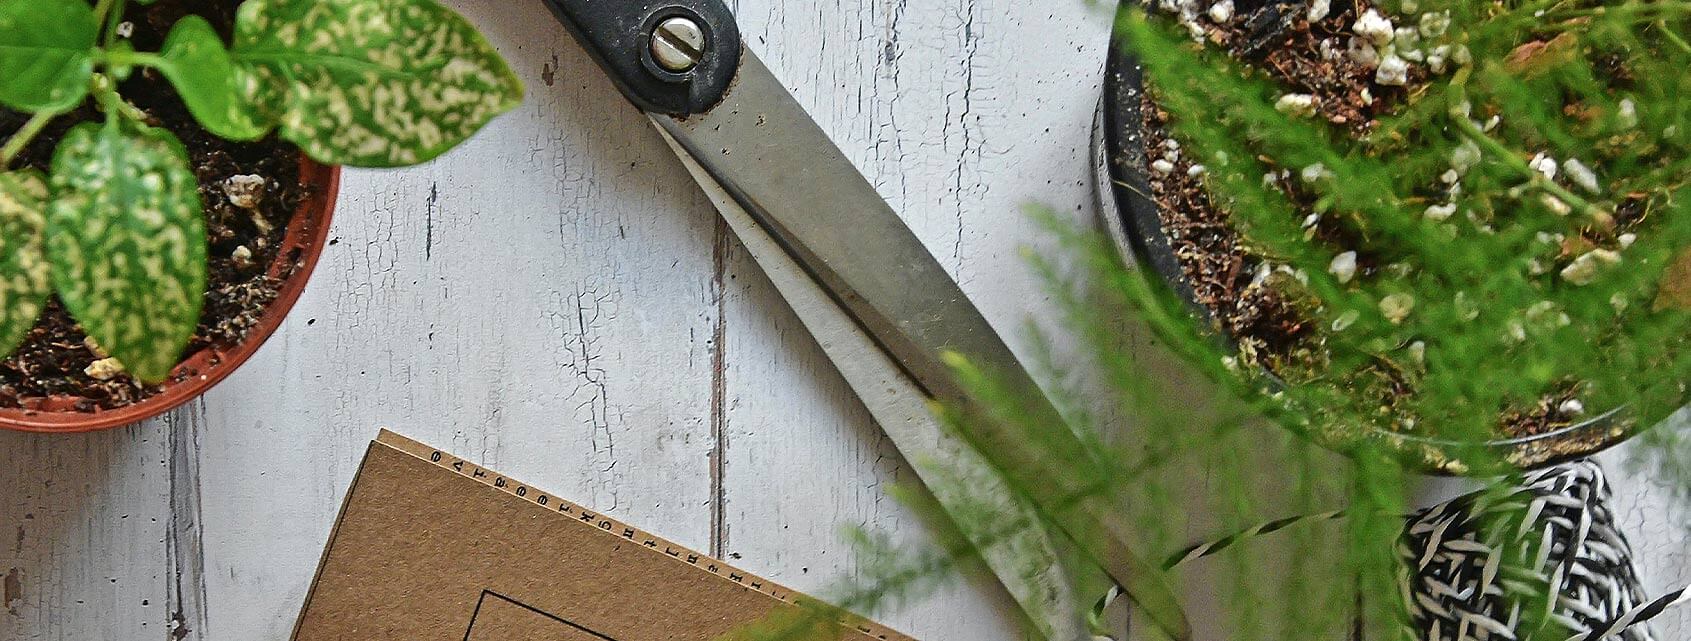
Step 4: Prune like a pro
Regular pruning, which will happen naturally as you add herbs to your food, will encourage new growth. Just use kitchen shears or pinch stems off at the nod.
PRO TIP
Don’t remove more than a fourth of the plant at any given time, though, lest you risk stressing it out or even killing it. 😬

Step 5: Focus on the future
The good/bad news is that if you’re doing this right, an indoor herb garden won’t last forever. Sooner or later, your new plant friends will outgrow their homes and will need to be transplanted into a larger pot or planted outside. *tear* They grow up so fast!
Step 6: Make a masterpiece
Now that you’ve got your own little herb farm, it’s time to put it to use! Make your meals come alive with our favorite herb-inspired recipes.
Recipes to try
- Pancetta Spinach Quiche
- Sweet Herb Marinated Chicken
- Grilled Chicken Tacos
- Grilled Strawberry and Basil Dessert Pizza
- Crispy Parmesan Roasted Potatoes